Recipe of Homemade Homemade Miso
Homemade Miso.
Hey everyone, hope you are having an incredible day today. Today, I'm gonna show you how to prepare a special dish, homemade miso. It is one of my favorites food recipes. For mine, I will make it a bit tasty. This will be really delicious.
Homemade Miso is one of the most favored of current trending foods on earth. It is simple, it is quick, it tastes yummy. It's enjoyed by millions daily. Homemade Miso is something which I have loved my whole life. They're nice and they look fantastic.
To begin with this recipe, we must prepare a few ingredients. You can cook homemade miso using 6 ingredients and 22 steps. Here is how you can achieve it.
The ingredients needed to make Homemade Miso:
- {Take 1 kg of Dried soy beans.
- {Get 2 kg of Raw rice koji.
- {Get 1 of 7/10- kg Dried koji (see Step 19).
- {Take 650 grams of Natural salt.
- {Take 400 ml of Cooking liquid from the soy beans.
- {Take 1 kg of Salt for weighting down (or a rock).
Instructions to make Homemade Miso:
- Soak the beans overnight (12 hours). Thoroughly clean the container in which you plan to make the miso and disinfect it by wiping it down with white liquor..
- Cook the beans until they become soft to the touch while skimming off any scum. If using a pressure cooker, cook them for 8 minutes, then release the pressure to cool immediately..
- Drain 1 sauce pan worth of beans, reserving the liquid. Allow the beans to cool to the touch, then place them in a thick Ziploc bag..
- Wrap the bag in a towel, and mash the beans by stepping on them..
- Blend them in a food processor until it becomes like a paste. Repeat the steps with one more sauce pan of cooked beans..
- Blend it to your preferred texture, and then cool it the touch..
- In a large bowl, thoroughly break up the large chunks of koji..
- From the listed amount of salt, set aside a handful, then thoroughly mix the rest of the salt with the koji..
- Mix the cooled beans with the koji. If it's too hard to mix, add a bit of the cooking liquid from the beans. The consistency should reach the firmness of your earlobe..
- Once the miso is the right consistency, form it into hamburger patty-sized balls, pressing out as much air as possible..
- Forcefully throw the balls of miso in container that was sterilized with white liquor (to release any pockets of air)..
- Punch down on the miso, until all of the air is pressed out, then flatten the surface..
- Sprinkle the top with the remaining handful of salt. Rub some salt on the inside of the container as well..
- Put the salt or rock for weight in a bag, and put it on top of the miso. Store the container in a cool place..
- After a month or two, flip the miso over. You can start eating the miso after the summer. To flip the miso over, repeat Step 11, reversing the position of the miso, from bottom to top..
- Make sure to apply another handful of salt on the inside of the container after flipping over the miso to prevent mold growth..
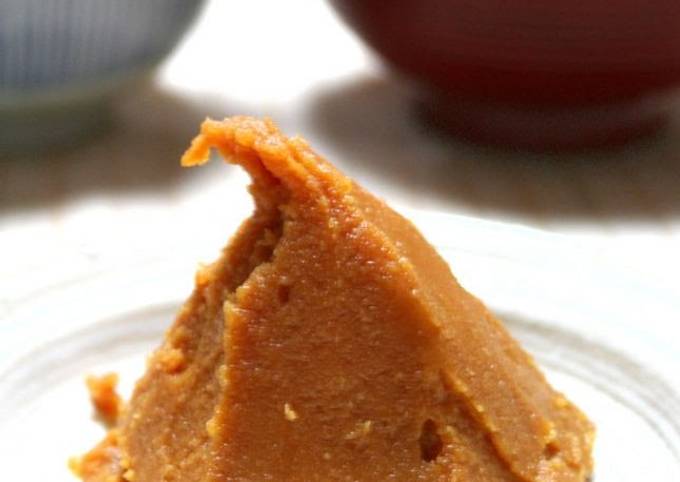
- Here is how it looks after it's wrapped. Note: The miso in the picture was made with black beans, so it's darker..
- After 6 months to a year, you will have delicious miso..
- Add water to 1.7-1.8 kg dry koji to make it 2 kg. If using rice or wheat koji, wait an hour before use, and if using bean koji, wait about 3 hours..
- Saltiness: Salt level (%) = weight of salt / (weight of cooked beans + koji + cooking liquid from the beans used to adjust the firmness + salt) x 100.
- When I make miso, the cooked beans weigh about 2.6 times the dried beans, and the amount of salt is about 10-12%..
- This miso's salt level is, 0.65 kg / 1 kg × 2.6 times + 2 kg + 0.4 kg + 0.65 kg) × 100 = 11.5%.
So that's going to wrap it up with this special food homemade miso recipe. Thank you very much for reading. I am sure that you will make this at home. There is gonna be interesting food in home recipes coming up. Remember to bookmark this page on your browser, and share it to your family, colleague and friends. Thank you for reading. Go on get cooking!


Comments
Post a Comment